 Cutline
To add captions to a video, open Cutline and add your video. On a Mac, click Choose file. On an iPhone, tap the yellow + and pick it from Photos. Cutline listens to the video and writes the captions, timed to each word. Choose a style, then click or tap Render. You get a new video with the captions built in.
On Mac: import your video
- Open Cutline. The first time, you'll see Drop a video here. Once you've made a few videos, they're listed here too, so you can pick up where you left off.
- Click Choose file and pick your video. You can also drag it from Finder onto the window, or press ⌘ O. Cutline reads MP4, MOV, M4V, HEVC and ProRes.
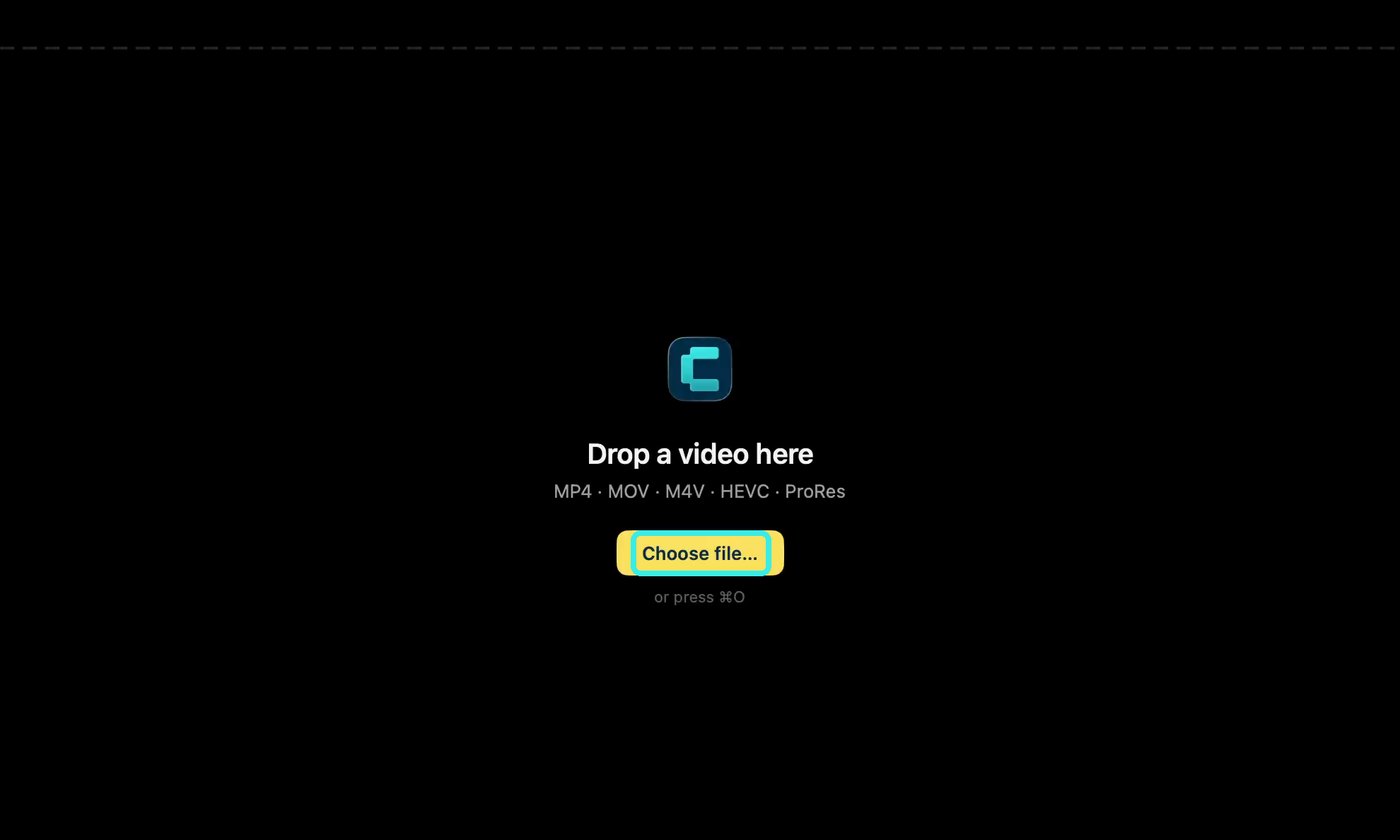
Let Cutline caption it
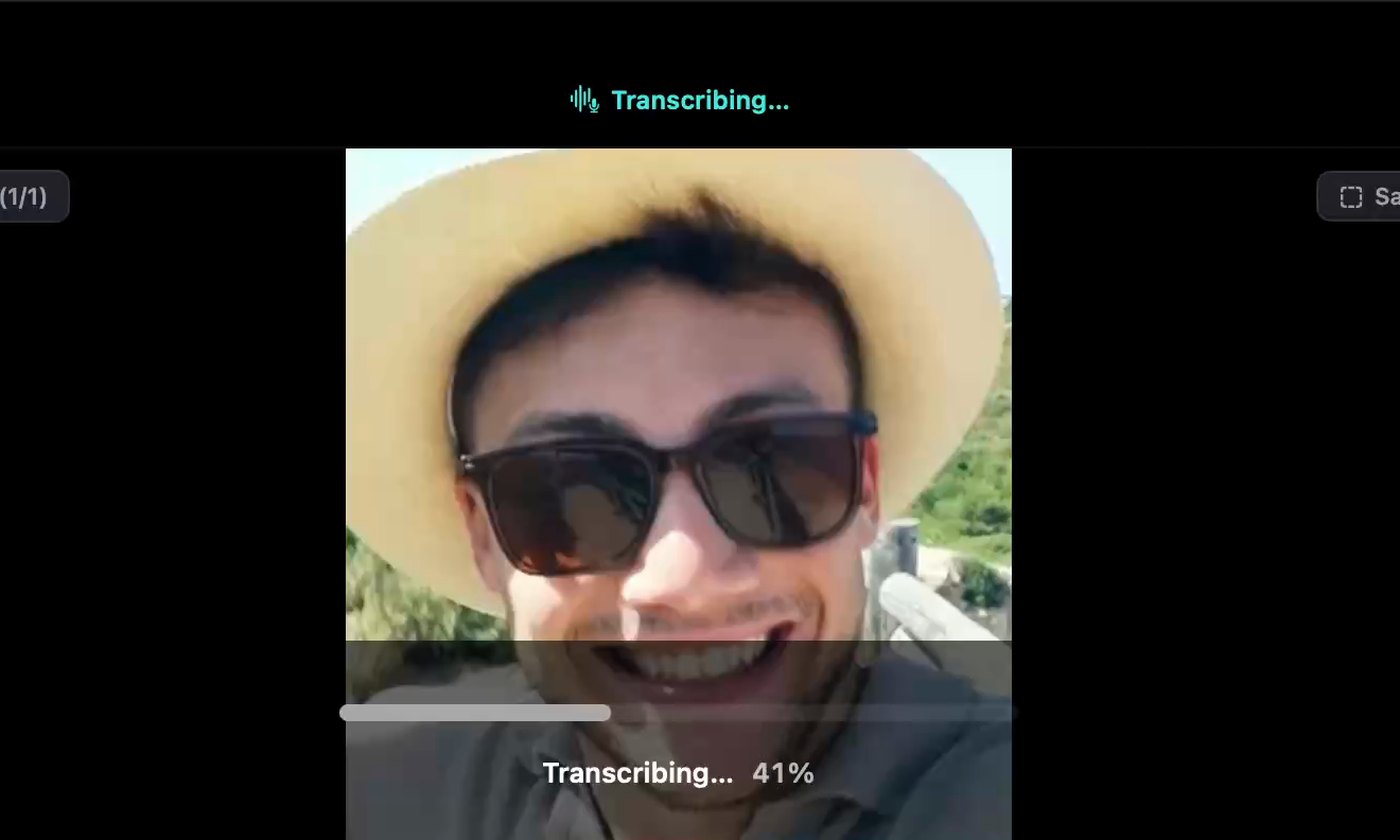
- Wait for the captions. The top bar shows "Extracting audio", then "Transcribing", with a progress bar over the video. When it says Ready to render, your captions are done. This all happens on your Mac.
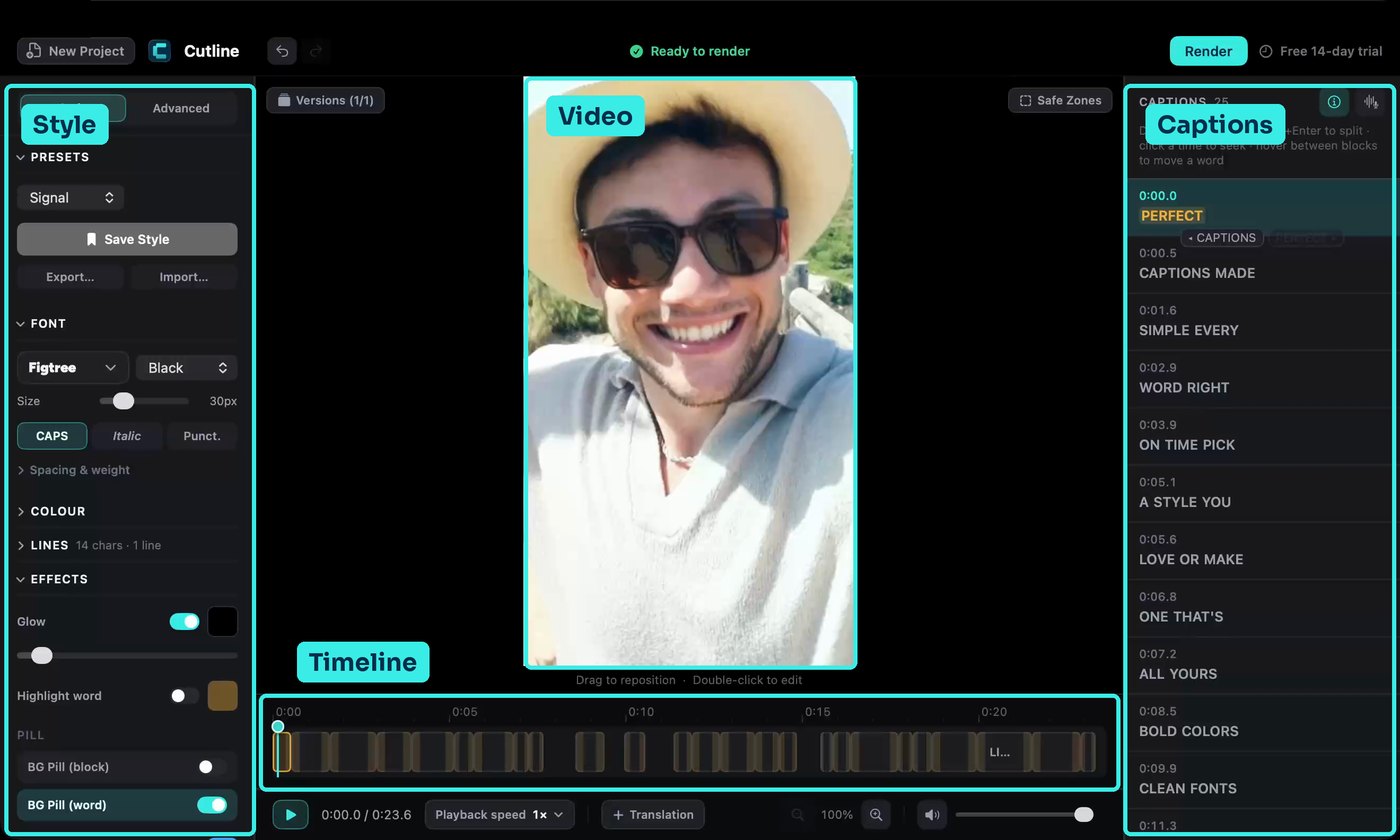
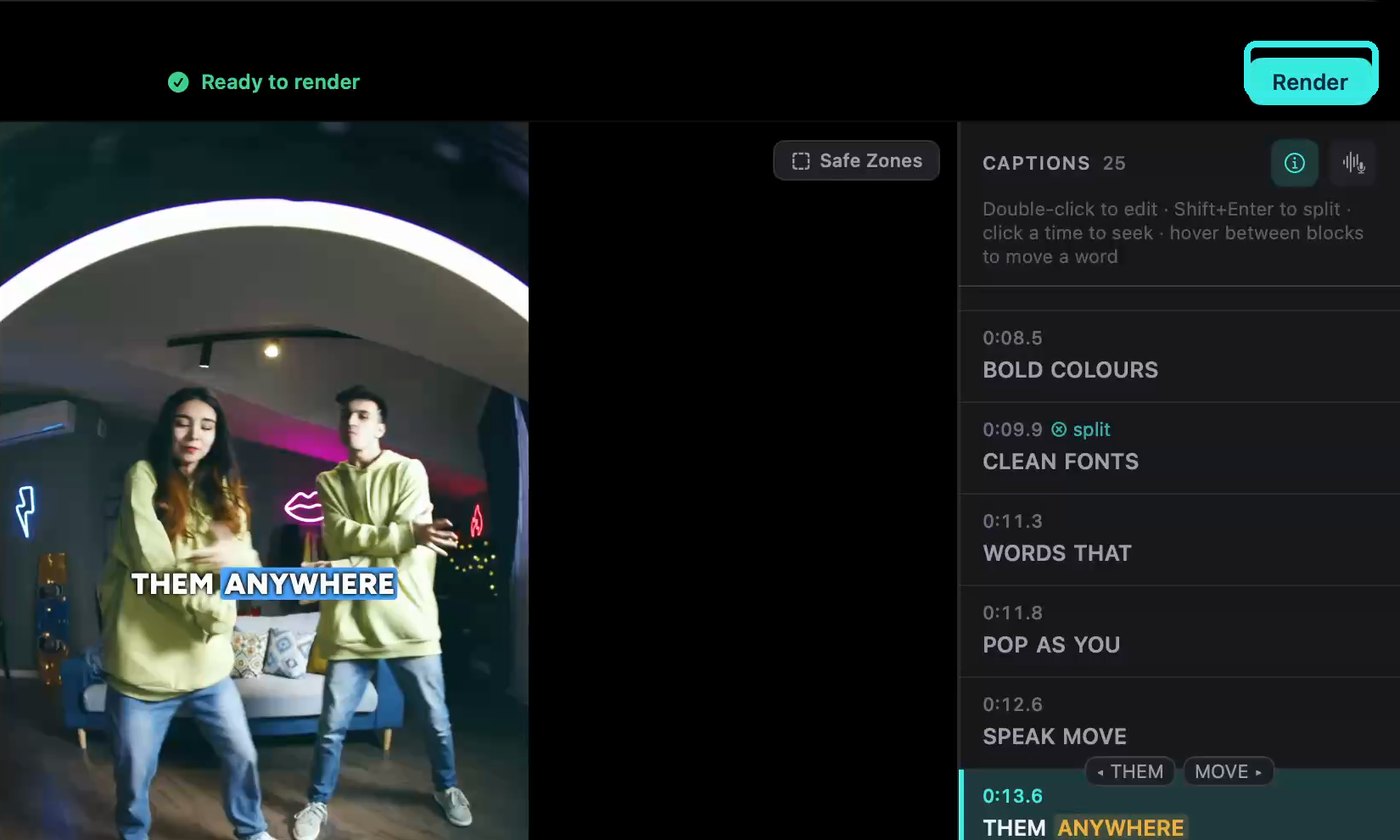
Here's the editor. Your video is in the middle. The Captions list is on the right, one block per caption. The timeline runs along the bottom. The style settings are on the left, in two tabs: Style and Advanced.
Choose a style
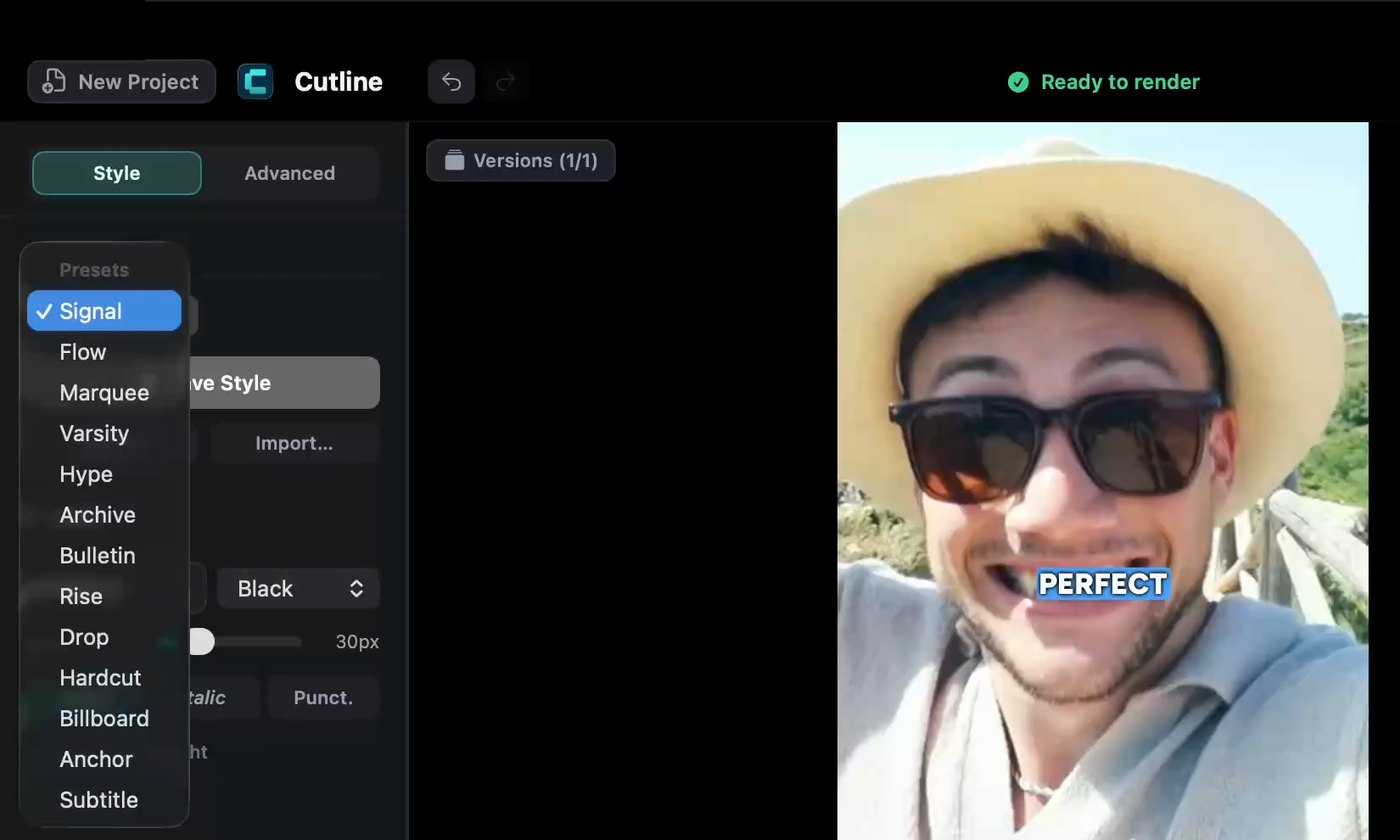
- Pick a preset. In the Style tab, open the Presets menu and choose one. The captions on your video change straight away. Try as many as you like. Nothing is final until you render.
Check the words
- Play it through once. Press the space bar, or read down the Captions list.
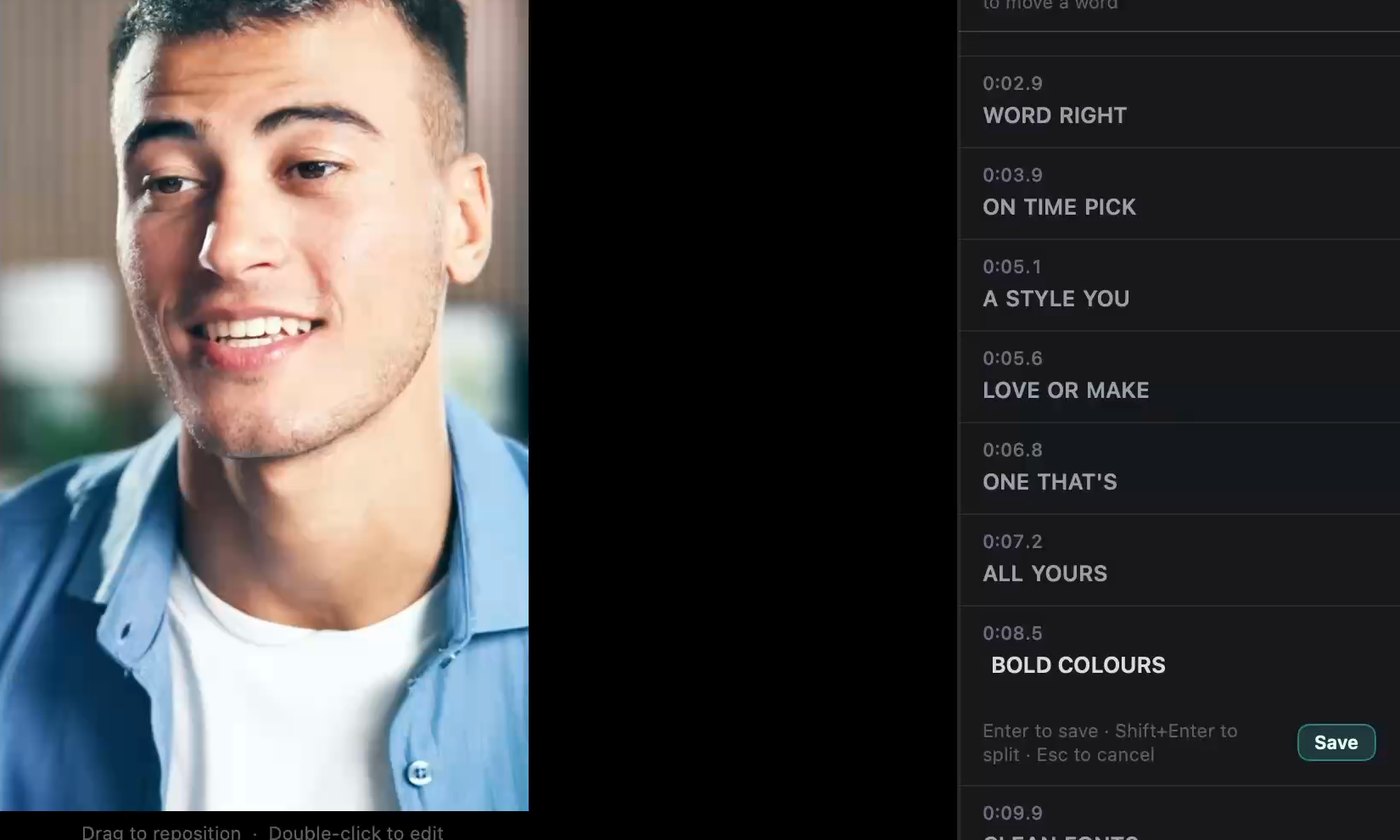
- Fix anything that's wrong. Double-click the block, type the correction, and press Enter or click Save. The timing stays the same. You can also double-click the caption on the video.
Render
- Click Render. It's the teal button, top right. The first time, Cutline shows the free trial. Click Start free trial.
- Choose where to save. Cutline suggests a name ending in "-captioned.mp4", so you can tell it from the original. Click Save. A progress bar shows how far along it is.
- Find your video. When it's done you'll see Render complete. Click Reveal in Finder to see the file, or Open to play it. Your original video isn't changed.
On iPhone
It's the same idea on your phone, in three steps.
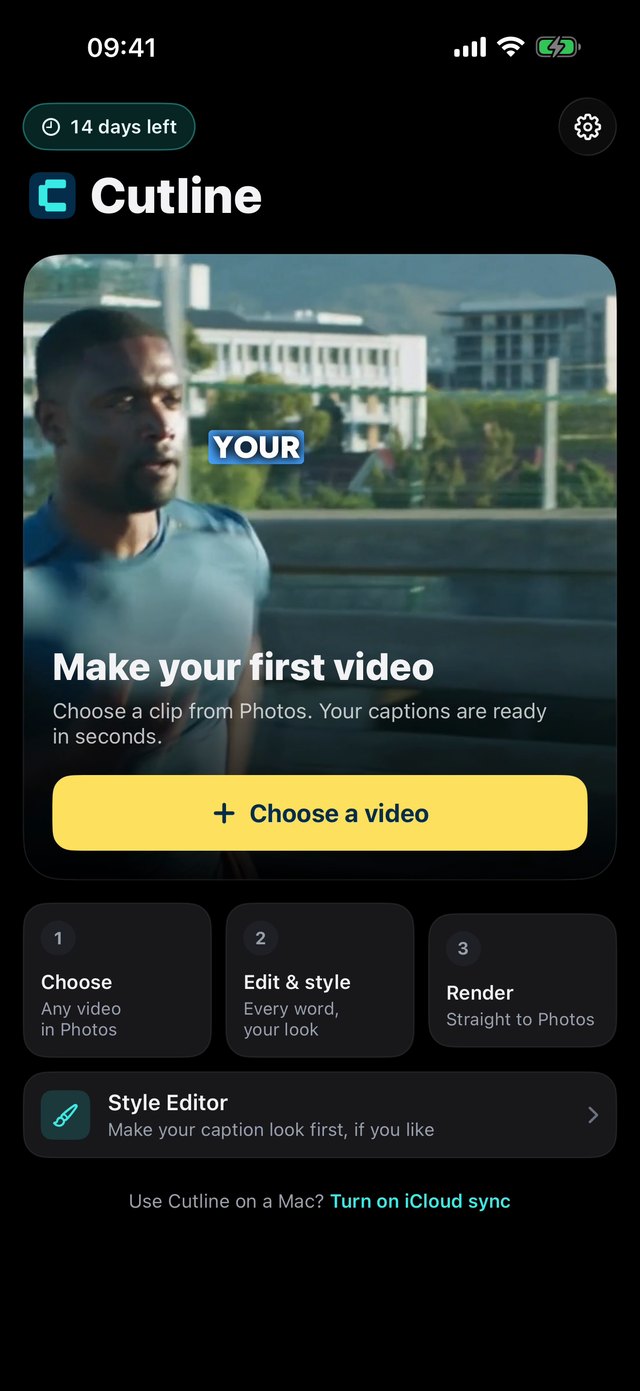
- Tap the yellow +. It's at the bottom right of your projects. The very first time, tap Choose a video instead.
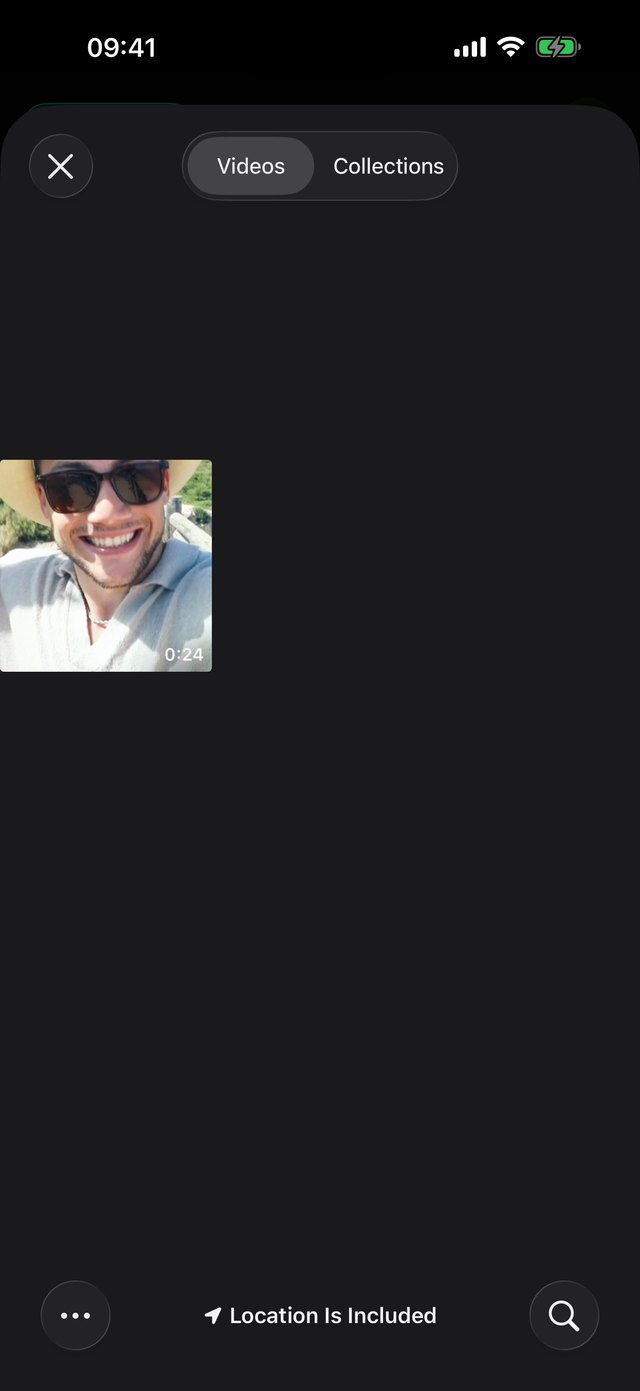
- Pick your video from Photos. Tap it once. Cutline starts straight away.
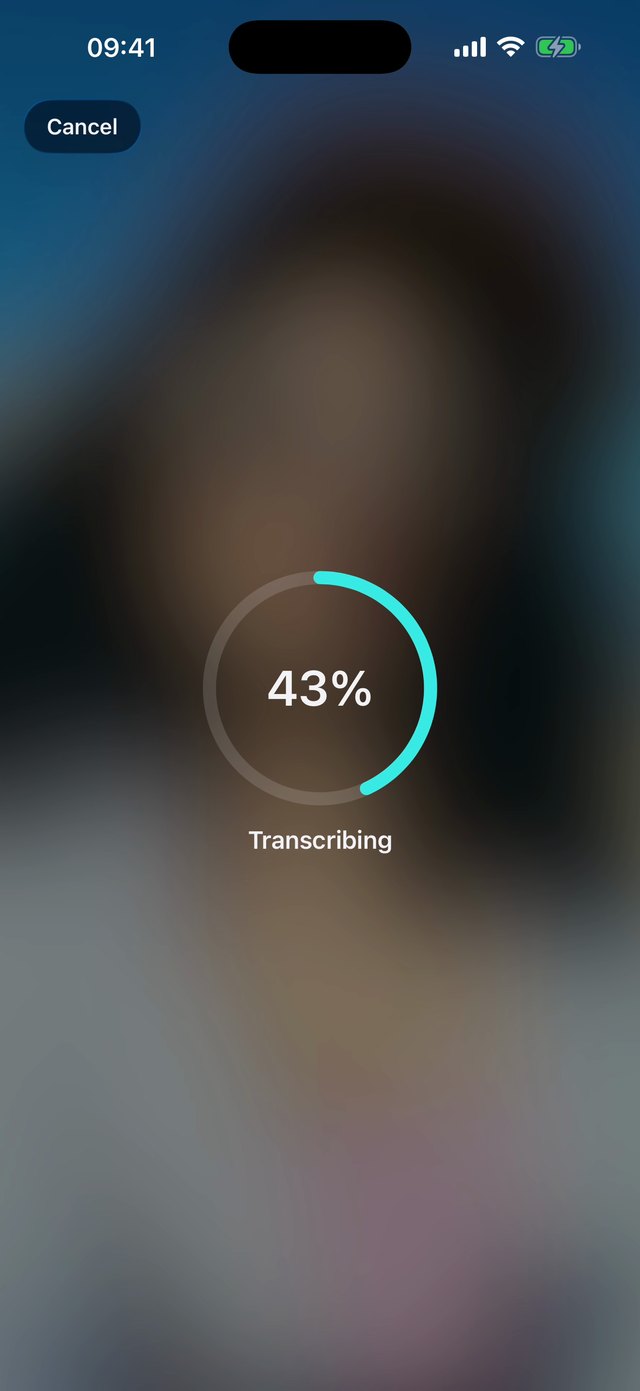
- Wait for the captions. A ring shows how far along it is. It all happens on your iPhone.
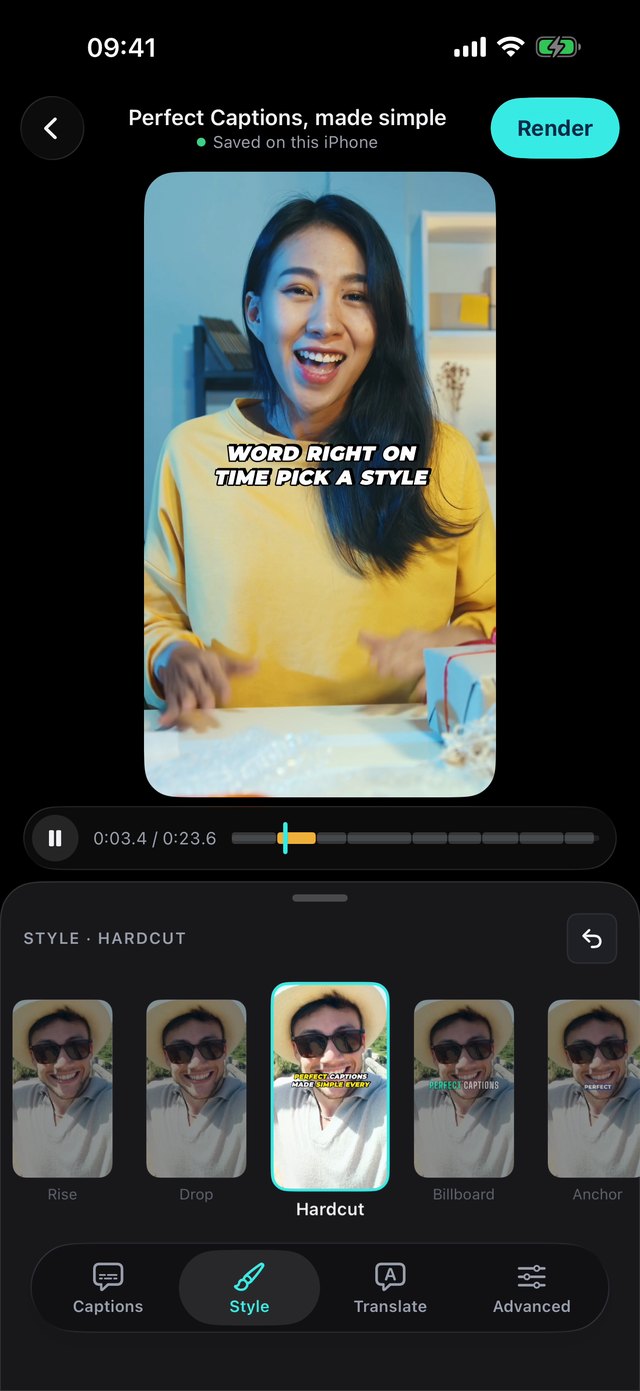
- Tap Style and swipe. Each style you land on is applied to your captions straight away. Changed your mind? Tap Undo, the curved arrow on the right.
- Tap Render. It's the teal button, top right. The first time, Cutline shows the free trial. Tap Start free trial. Apple shows a $0.00 confirmation, because that's how trials work on the App Store.
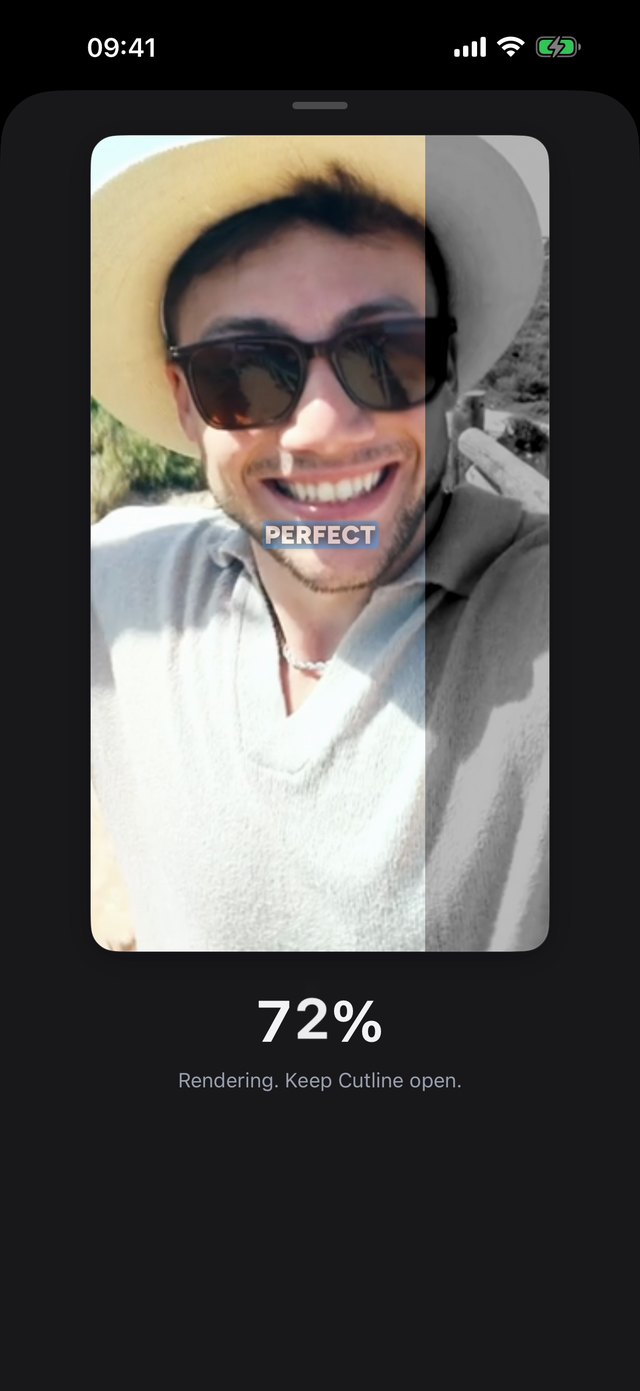
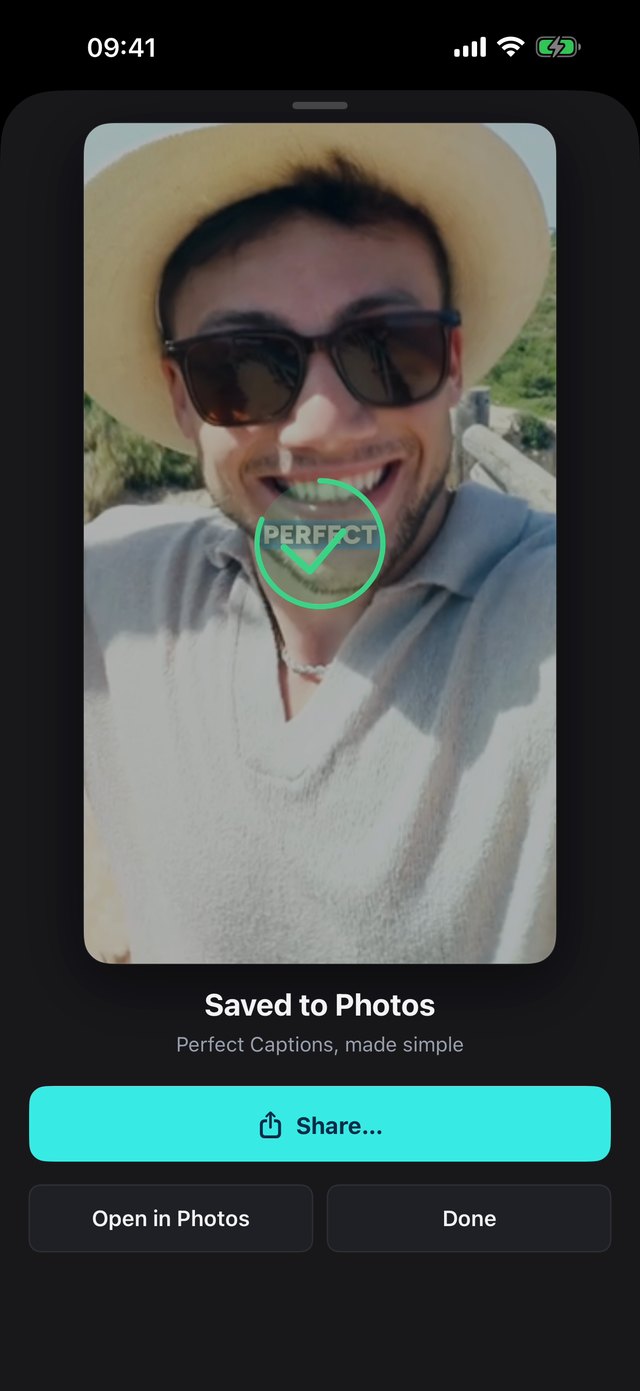
- Keep Cutline open while it renders. When it's done you'll see Saved to Photos. Tap Share to post it, Open in Photos to watch it, or Done to go back.
Fix a word on iPhone
Tap Captions, tap the line, then tap it again to edit. Type the correction and tap Save. The timing stays the same.
Where your captions are made
Cutline transcribes your video on your Mac or iPhone. Nothing is uploaded and nothing is sent to us. If you turn on iCloud sync, your projects are kept in your own iCloud, so they can open on your other devices.
Coming from CapCut or Kapwing?
Both are full video editors with captions built in. Cutline does one job, captions, and it does it on your device. If captions are what you need, here's how they differ.
| Cutline | CapCut | Kapwing | |
|---|---|---|---|
| How you pay | Once. iPhone $14.99, or Mac + iPhone $39.99. 14-day free trial. | Free plan. Pro is a monthly or yearly subscription. | Free plan. Pro is $24 a month, or $16 a month billed yearly. |
| Where captions are made | On your Mac or iPhone. Nothing is uploaded. | Desktop, phone and web apps. | In your browser, so you upload your video. |
| Watermark | Never, including during the trial. | Depends on your plan. | Free plan adds one. |
Kapwing figures are from Kapwing's pricing page, checked 8 October 2026. Prices change, so check before you buy.
Caption your first video
Word-by-word captions on your Mac and iPhone. Pay once. No subscription.
Get Cutline on the App Store Free for 14 days. macOS 14 or later. iOS 18 or later.Common questions
Which video formats work?
On a Mac: MP4, MOV, M4V, HEVC and ProRes. On an iPhone: any video in your Photos library. The finished video is an MP4.
Does Cutline change my original video?
No. Rendering makes a new video. On a Mac you choose where it's saved. On an iPhone it's added to Photos.
Is there a watermark during the free trial?
No. The trial has every style and feature, and nothing is watermarked. After 14 days, editing and previewing stay free. Rendering needs the unlock.
Do I need to be online?
No. Captions are made on your device. You only need to be online to download the language pack, and for iCloud sync if you use it.
Can I caption in other languages?
Yes, around 99 of them, after a one-time language pack download. See how to add multi-language captions.
Is it one price for both apps?
Cutline for Mac + iPhone is $39.99 once and covers both. If you start on iPhone ($14.99), you can add the Mac later for $24.99. Each app has its own 14-day free trial.